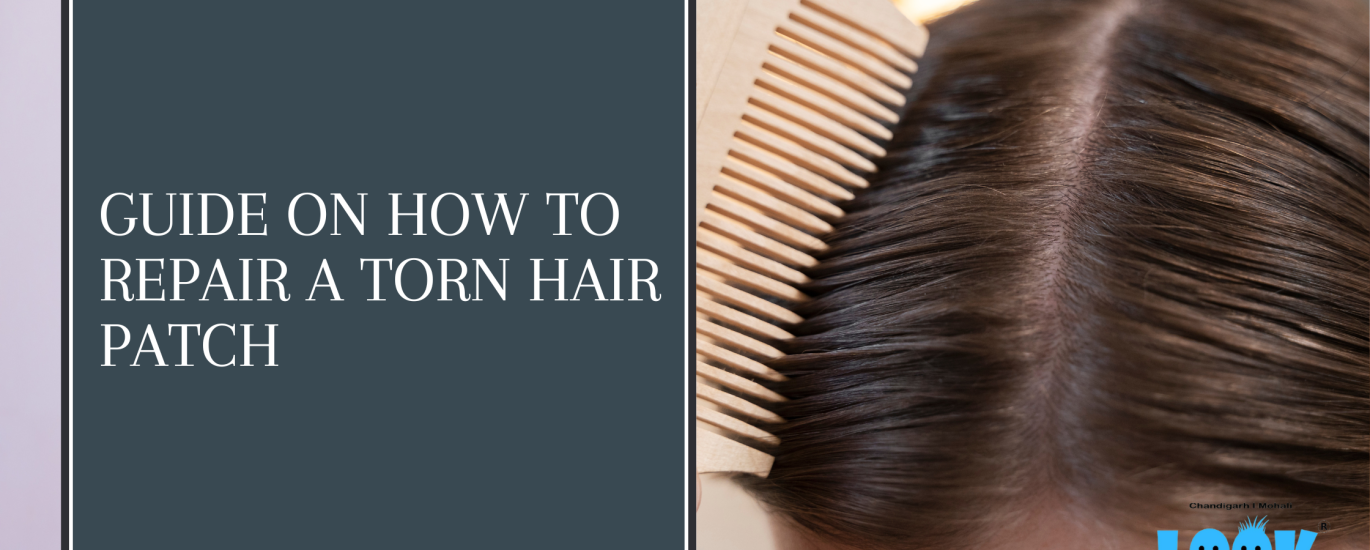
Hair patches, also known as hair systems or toupees, are a popular solution for those experiencing hair loss. However, like any other product, they can suffer wear and tear over time. A common issue is a tear in the hair patch, which can be distressing but is often repairable. Here’s a detailed guide on how to repair a torn hair patch, ensuring it looks as good as new.
Step 1: Clean the Hair Patch
Before you begin any repair work, it’s essential to clean the hair patch thoroughly. Use a gentle shampoo and conditioner specifically designed for hair systems. Rinse it well and let it dry completely. Cleaning removes any dirt, oils, or adhesives that might interfere with the repair process.
Step 2: Assess the Damage
Examine the tear closely to determine its size and severity. This assessment will help you decide whether to use glue or stitching for the repair. Small tears can often be fixed with fabric glue, while larger tears may require stitching.
Step 3: Repairing Small Tears
For small tears, fabric glue is usually sufficient. Here’s how to do it:
- Use Fabric Glue: Choose a high-quality fabric glue that dries clear and remains flexible.
- Align the Edges: Gently press the torn edges together using tweezers or your fingers. Make sure the edges align perfectly to avoid any visible gaps.
- Apply Glue: Apply a small amount of fabric glue along the tear. Be careful not to use too much, as excess glue can seep through the lace and become visible.
- Press and Hold: Press the edges together firmly and hold them in place until the glue sets. You can use a small clamp or a clothespin to keep the edges together while the glue dries.
- Let it Dry: Allow the glue to dry completely before using the hair patch. This usually takes a few hours, but it’s best to follow the manufacturer’s instructions for drying time.
Step 4: Repairing Larger Tears
For larger tears, stitching is often the best option. Here’s a step-by-step guide:
- Prepare Your Tools: You’ll need a needle, thread that matches the colour of the lace, and a pair of scissors.
- Align the Edges: Just like with small tears, align the torn edges carefully.
- Stitching: Sew along the edges of the tear using small, tight stitches. Ensure you don’t pull too tight, as this can cause puckering or damage to the lace. Use a backstitch for added strength.
- Reinforce the Stitching: Once you’ve stitched the tear, you can reinforce it with a small piece of lace or fabric on the underside. This adds extra strength and prevents the tear from reopening.
- Trim Excess Thread: After stitching, trim any excess thread to keep the repair neat.
Step 5: Reinforcing with Tape or Adhesive
For added security, you can reinforce the repaired area with tape or adhesive. This step is optional but can provide extra durability, especially for larger repairs.
- Choose the Right Tape: Use a medical-grade adhesive tape that is safe for skin contact.
- Apply the Tape: Cut a small piece of tape and apply it over the repaired area on the underside of the hair patch. Press it firmly to ensure it adheres well.
- Check for Comfort: Make sure the tape doesn’t cause any discomfort when wearing the hair patch. Adjust as necessary.
Conclusion
Repairing a torn hair patch is a manageable task with the right tools and techniques. By following these steps, you can extend the life of your hair system and maintain its natural appearance. However, for severe damage or if you’re unsure about the repairs, consider taking the hair system to LOOK MASTERS, which specializes in hair patch repair. Their expertise ensures that your hair patch is restored to its best condition, providing you with confidence and comfort.
For more information and professional assistance, visit LOOK MASTERS in Chandigarh and Mohali.